IP Camera vs GoPro Timelapse for Construction: A Practical Long-Term Comparison
When comparing an IP camera vs GoPro for timelapse recordings of construction projects, it is easy to focus too much on the camera itself. Both approaches can capture images over time.
Part of the series · Long-Term Construction Timelapse GuideConstruction Timelapse for Long-Term Outdoor Projects: The Professional Guide (Months to Years)
Quick answer
Both work for long-term construction timelapse with continuous power, automatic upload and a daily upload check that emails you when images are missing. Choose your own IP camera if the site has LAN or Wi-Fi and you can set up FTP upload: it is cheaper. Choose a GoPro set or TLR-Bridge if you need LTE, dashboard control or sharper images.
When comparing an IP camera vs GoPro for timelapse recordings of construction projects, it is easy to focus too much on the camera itself. Both approaches can capture images over time and both can be part of a professional long-term workflow. But on real construction sites, the better choice is rarely decided by the camera’s built-in timelapse mode alone.
The more important question is how the full system performs over months or even years. How is the camera powered? How are images uploaded? How can the latest images be checked remotely? Who notices when uploads stop? And how much technical effort is required to keep the system running reliably?
This page helps you decide. The matrix below compares both routes over 18 months. The sections after it explain each point in more detail.
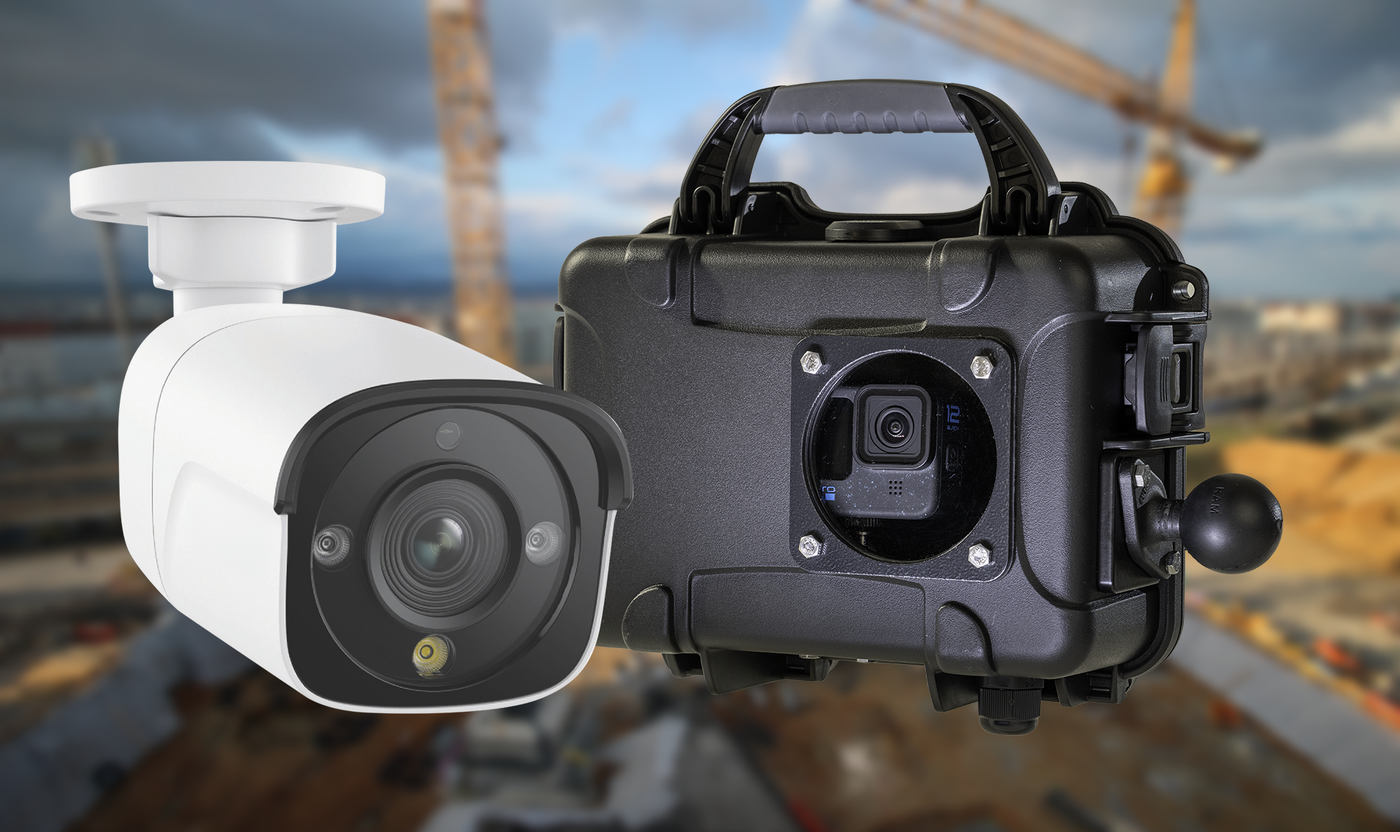
Decision matrix: own IP camera or GoPro set over 18 months#
| Own IP camera + TLR-Cloud | GoPro set or TLR-Bridge + TLR-Cloud | |
|---|---|---|
| Cost over 18 months, net | Camera: the one you already have, or its purchase price. Cloud in our example: €522 (Professional, 18 × €29) | Complete set €999 once, or TLR-Bridge €499 plus housing €399 for your own GoPro HERO 12 or 13. Cloud in our example: €542 (Professional plus extra storage). Set total: about €1,541 |
| Network / internet | Usually LAN or Wi-Fi on site; the camera uploads its images over FTP. Direct LTE is less common | LTE with a SIM card and data plan, or Wi-Fi, through the TLR-Bridge |
| Power | Continuous power at the camera position | Continuous mains power (5 m outdoor cable in the set). No battery or solar option from us |
| Effort | You set the schedule and FTP upload in the camera’s own software. TLR-Cloud then archives and monitors | Delivered pre-paired. Schedule on the Bridge or remotely from the dashboard; archive and monitoring in TLR-Cloud |
| Image quality | 4K IP camera: about 8 MP per image. Good for documentation | GoPro HERO 13: about 27 MP per photo. Stronger for presentation films |
| Storage in our example | 4K: about 57 GB, 1080p: about 11.5 GB. Professional (150 GB per camera) is enough | About 183 GB. Professional plus 100 GB extra storage from month 15, or Business (250 GB per camera) |
Assumptions of the example: one camera, 18 months, Monday to Friday, 10 hours a day, one image every 10 minutes (about 23,500 images). Image sizes as in our timelapse calculator: about 8 MB per GoPro photo, 2.5 MB per 4K IP camera image, 0.5 MB per 1080p image. Not included: mobile data plan, mounting and your own time. The full calculation is in our guide to construction timelapse costs.
TLR-Cloud is free for every camera, with 2 GB of storage per camera. That is enough for a test, not for an 18-month archive. Professional costs €29 net and Business €49 net per camera and month; extra storage for Professional and Business is 100 GB for €5 net a month. When storage is full, uploads stop. Nothing is deleted, and you get an email before that happens.
In short: the IP camera is usually cheaper but needs more technical know-how and depends on the site network. The GoPro route costs more upfront but works over LTE and is easier to run from one dashboard.
Typical use cases for construction timelapse#
Construction timelapse is used for several different purposes and those purposes influence which camera approach makes sense.
Some projects need a simple long-term visual record. The goal is to document progress for internal reporting, client communication, or milestone review. In these cases, the camera mainly serves as a consistent observer. The emphasis is on stability, repeatability and dependable image delivery.
Other projects place more importance on presentation quality. The timelapse may be used in marketing, stakeholder presentations, investor updates or final project films. Here, the output is not only a record of progress but also a polished visual product. Image character, framing, and overall visual appeal matter more.
There are also mixed-use projects. A contractor may want reliable documentation throughout the build, but also a strong final sequence at handover. This is common on larger developments, public projects, or premium commercial sites.
Because of that, the IP camera vs GoPro decision is not really a question of which camera is universally better. It is a question of which approach better matches the practical goals of the project.
How IP cameras capture interval snapshots#
An IP camera timelapse workflow usually relies on the camera’s own network and surveillance features. Instead of functioning like a traditional standalone timelapse camera, the IP camera typically takes scheduled snapshots or uploads images at defined intervals through its own software environment.
That means the image capture logic often lives inside the camera settings. The operator usually configures schedules, snapshot behavior, or upload behavior in the camera’s own interface. The timelapse platform then receives and organizes those images. If you want the FTP side of that process explained in more detail, including scheduled uploads, timestamp handling, archive structure, and cloud workflow design, read our guide to camera FTP upload for long-term projects.
If you want to see how scheduled snapshots, FTP upload, and cloud-based image organization work in practice, read our guide on how to turn an IP camera into a construction timelapse system.
This is an important operational distinction. With many IP camera workflows, the timelapse software is not directly controlling the camera. Instead, the camera and the timelapse platform each play a separate role. The camera handles image creation and delivery. The timelapse software handles visual review, archive management and operational monitoring.
This approach can work very well, especially for teams that are already familiar with network cameras. It is also the cheaper route: if a suitable camera is already on site, you may not need any new hardware.
But that lower hardware cost often comes with a higher technical burden. The operator usually needs more knowledge of network configuration, camera-side settings and upload workflows. In practice, that means IP cameras are often attractive for technically confident users, integrators, or service providers who are comfortable managing the camera through its own software while using a platform such as TimelapseRobot for monitoring and archive functions.
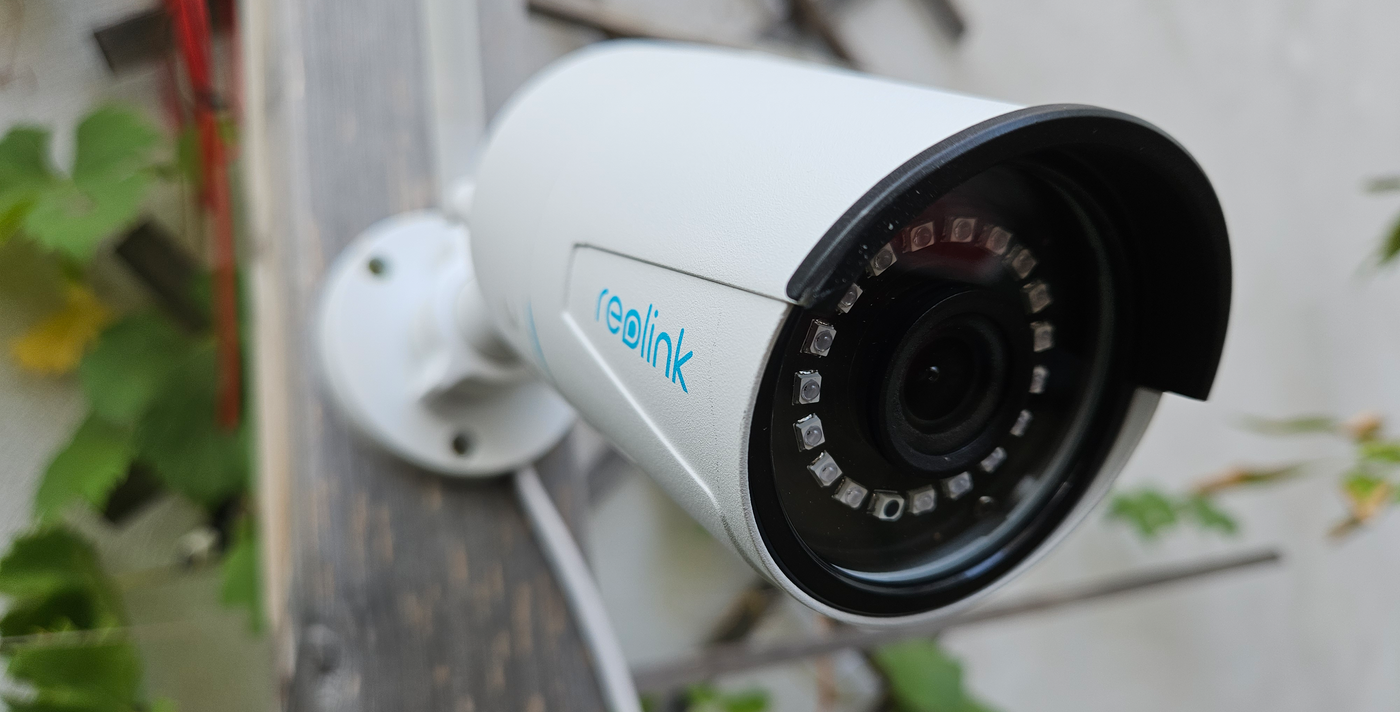
The Reolink RLC-510WA used as a construction timelapse camera for low budget projects
How GoPro cameras are used for timelapse#
A GoPro-based construction timelapse workflow starts from a different design philosophy. The camera is built primarily for image creation rather than surveillance. It is naturally suited to wide-angle capture, visual storytelling, and time-based shooting. That makes it attractive for projects where the final result should look more polished and cinematic.
However, a GoPro on its own is not a complete long-term construction timelapse system. It may offer built-in timelapse modes, but a long-duration site deployment still needs stable power, remote access, image upload and monitoring. Without those, even a visually strong camera becomes unreliable over time.
This is where the TLR-Bridge comes in. It powers the GoPro HERO 12 or 13, triggers every shot on schedule and uploads each image to TLR-Cloud over LTE or Wi-Fi. That combination turns the camera from a local timelapse device into a remotely managed site system.
For a deeper look at how a GoPro is turned into a reliable long-term monitored setup, see our GoPro construction timelapse long-term setup guide. Looking for the right GoPro time lapse settings for outdoor use? Our GoPro timelapse settings guide covers the camera settings for month-long outdoor runs.
One major practical advantage of this approach is that the camera is controlled from one place. You set the capture schedule on the Bridge or remotely from the dashboard, instead of dividing the workflow between camera software and timelapse software. That tends to reduce complexity for day-to-day operation.
Which has better image quality, an IP camera or a GoPro?#
Image quality should be discussed carefully, because “better” depends on what the footage is meant to do.
IP cameras can produce perfectly usable construction timelapse images. A 4K IP camera delivers about 8 MP per image. For documentation, progress tracking and operational review, that is often more than sufficient. If you are leaning toward the IP route, read our guide to best IP camera construction monitoring for long-term timelapse projects. Their fixed perspective can be an advantage. The framing stays consistent, the camera remains in place, and the result can clearly show site evolution over time.
A GoPro HERO 13 takes photos of about 27 MP. That gives more room for cropping and usually has the edge when the visual standard is higher: client presentations, promotional edits, sales material, or final project showcase videos. The price is storage: a GoPro photo is about three times the size of a 4K IP camera image.
So the practical comparison is not that IP cameras are low quality and GoPros are high quality. IP cameras are often optimized for documentation value, while GoPro-based systems are often stronger when presentation value matters more. The intended use of the footage should guide the decision more than abstract technical specs.
Installation and mounting considerations#
Installation conditions on construction sites are rarely as simple as they look on paper. Mounting position, access, cable routing, weather exposure, and future site changes all affect long-term success. For a dedicated guide to weatherproofing, condensation control, mounting stability, and seasonal outdoor setup planning, read our article on outdoor timelapse camera deployments.
IP cameras work especially well when the site already supports a more structured installation approach. They are well suited to fixed mounting on buildings, poles, or permanent structures. If the site has an available network path and a suitable power plan, installation can be very clean and stable.
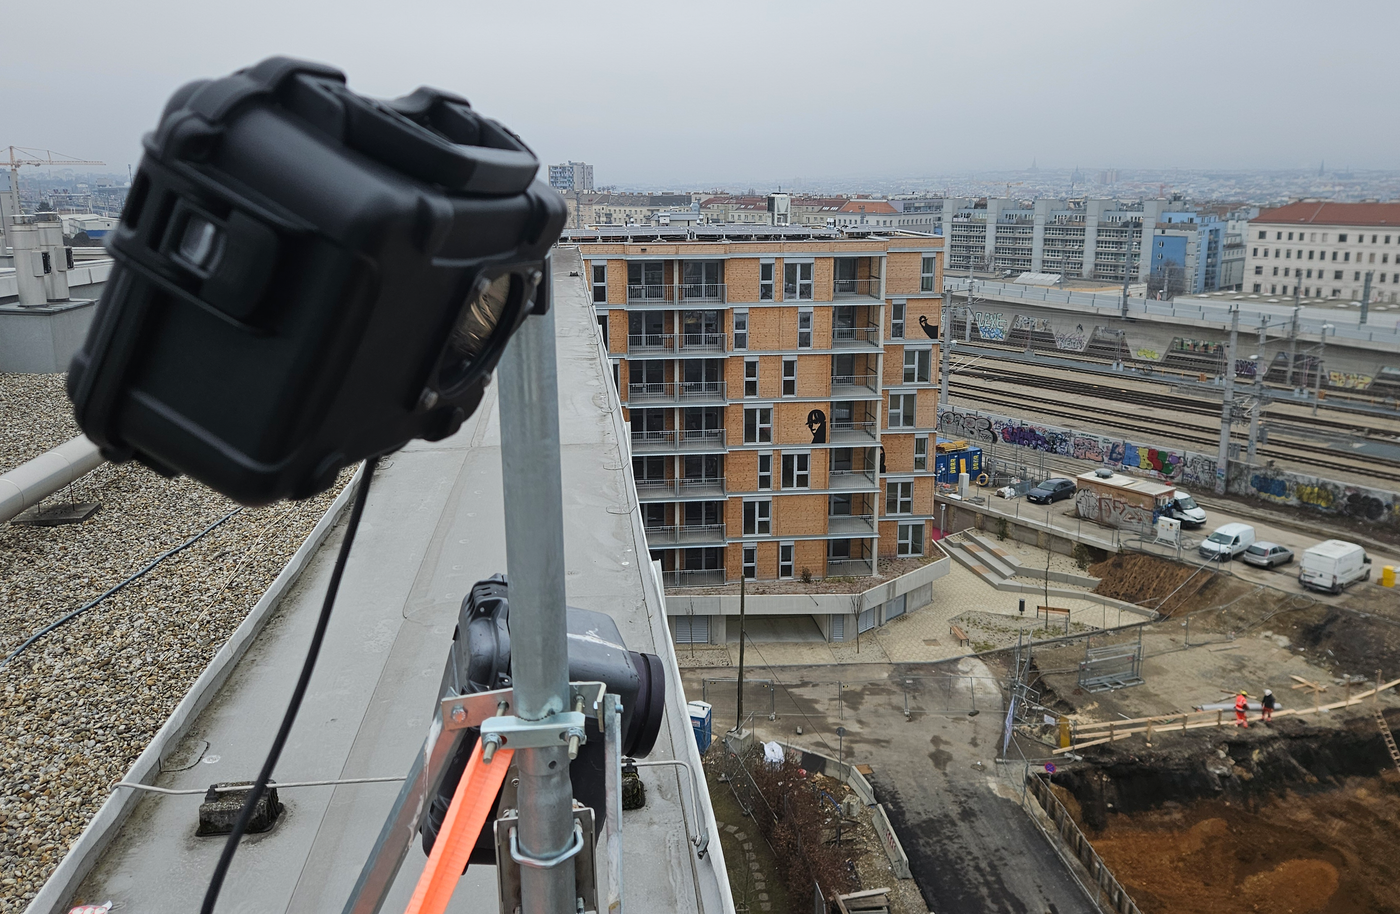
GoPro-based systems are more flexible in a different way. Because they bring their own LTE connection, they are often easier to place where a network cable would be hard to run. But they still require a professional setup: the camera must be protected in a weatherproof housing, powered continuously, and mounted where it will not be moved.
So neither option removes site planning. The difference is that the GoPro set arrives as one pre-paired unit, while an IP camera installation depends more on the network infrastructure already on site.
Power and connectivity#
Power and connectivity are among the most practical deciding factors in any construction timelapse camera comparison.
IP cameras often work best when the project can provide a stable local network connection, usually LAN or Wi-Fi. This is not a problem on some sites, especially where existing infrastructure is available or where a fixed building connection is already present.
But many construction environments are temporary, incomplete, or constantly changing. In those situations, network access can be more difficult than expected. Ordinary IP camera setups often do not have the easiest path to direct LTE connectivity, so they depend more heavily on the site’s own network.
This is one of the strongest practical arguments for the GoPro approach with the TLR-Bridge. It connects over LTE with a SIM card and data plan, or over Wi-Fi. That flexibility can make a major difference on active construction sites, especially early in the project when no network exists yet.
Power design matters equally. Neither camera type is truly professional for long-term construction use if it runs on temporary battery power alone. Both need continuous power. The TimelapseRobot set runs on mains power; we do not sell a battery or solar option. If the power drops, the TLR-Bridge starts again by itself once power is back.
For a deeper look at timelapse camera power supply for long-term deployments, including mains power, battery backup, solar limitations, and redundancy, read our dedicated guide.
How do remote monitoring capabilities compare?#
Remote monitoring is where the difference between a camera and a system becomes most obvious.
A built-in timelapse mode may create images, but it does not automatically create operational visibility. For long-term construction timelapse, teams need to know whether images are still arriving, whether the latest uploads look correct and whether the system has fallen below expected activity.
That is why software such as TimelapseRobot is so important. It adds the operational layer that raw hardware usually lacks: an online archive, remote access to recent images, and a daily upload check at a time you set yourself, with an email if images are missing. For a focused look at dashboards, upload visibility, and alert-based supervision, read our guide to remote timelapse monitoring for long-term construction projects.
The difference between IP and GoPro is how directly the platform interacts with the camera. With IP cameras, you manage capture behavior in the camera’s own software, and TimelapseRobot serves as the visual archive and monitoring layer. With the GoPro set, the schedule can also be changed remotely from the dashboard. That often makes the GoPro workflow easier for non-technical operators, even if the hardware costs more.
Need a construction timelapse workflow with online archive, remote image checks, and upload alerts? Explore TimelapseRobot for long-term project monitoring.
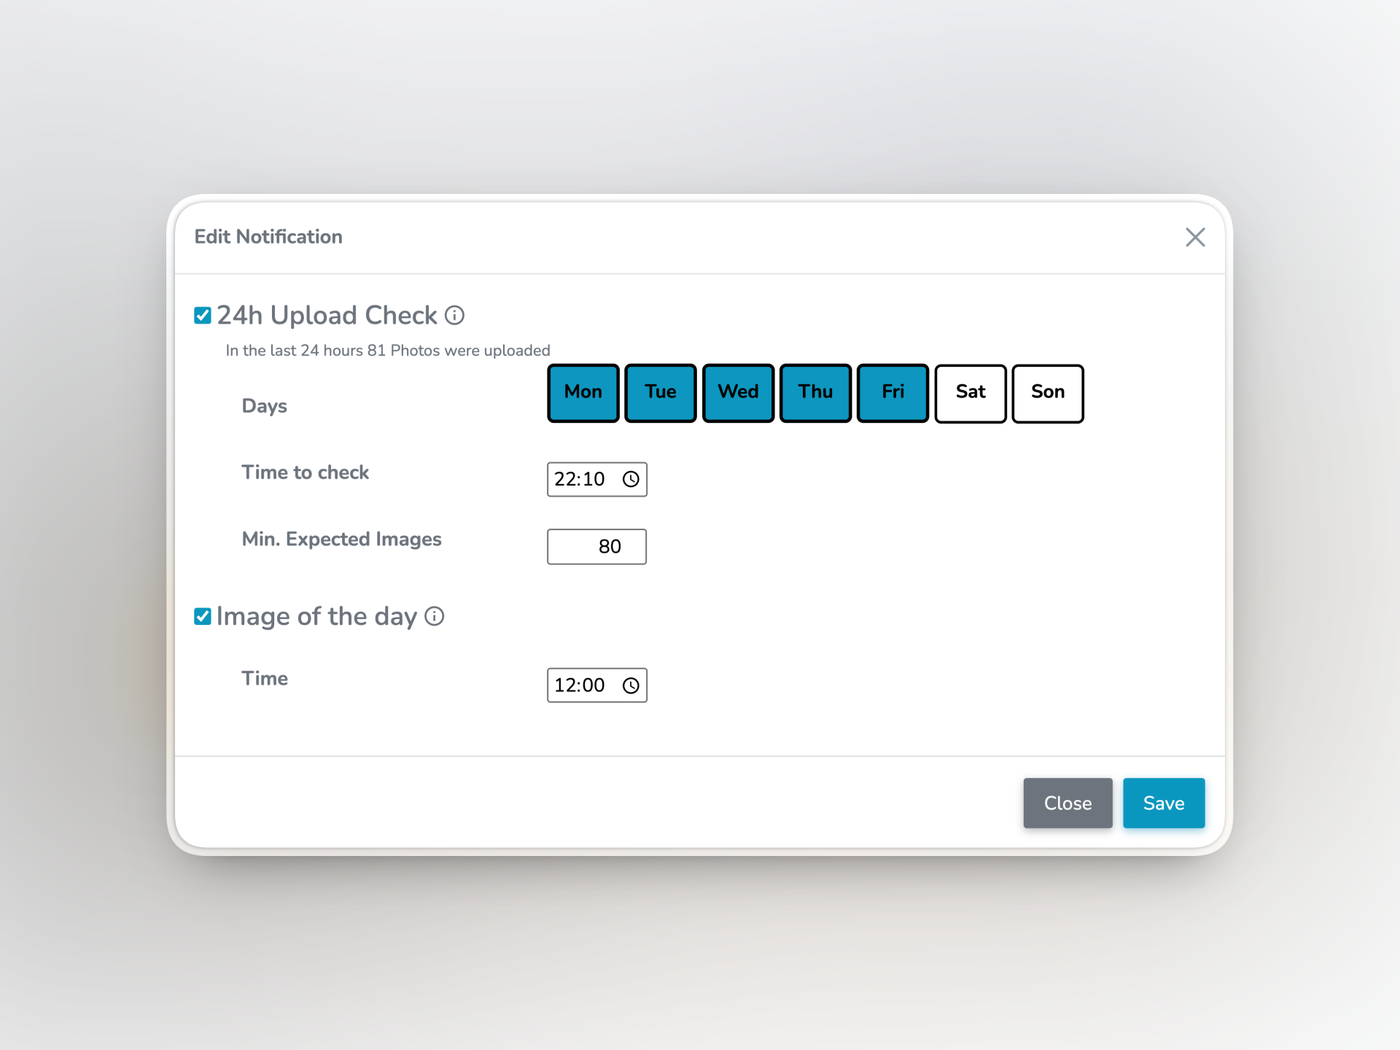
Notification settings for remote monitoring in TimelapseRobot software
How reliable are IP cameras and GoPros over the long term?#
Long-term reliability is not determined by camera brand or camera category alone. It is determined by whether the full system is designed for real-world construction conditions. For a focused breakdown of the most common construction timelapse problems that affect both setup types, read Construction Timelapse Problems: How to Avoid Failure in Long-Term Projects.
For the broader framework behind reliable long-term outdoor capture, including system design, operational discipline, and risk management, read our guide to construction timelapse for long-term outdoor projects.
Construction sites change constantly. Power is interrupted. Network equipment is moved. Temporary structures appear. Maintenance access becomes restricted. Mounting environments are exposed to dust, weather, vibration, and accidental interference.
IP cameras have an advantage in that they are naturally suited to fixed-position monitoring. But compatibility still matters. Not every network camera is equally suitable for snapshot scheduling and FTP upload.
GoPro-based systems have a different reliability path. The camera itself is not a construction monitoring solution by default, but with the right housing, controller, power design and software workflow, it becomes one.
So the honest conclusion is that long-term reliability depends less on whether the camera is an IP camera or a GoPro and more on whether the whole setup includes proper power, connectivity, weather protection, monitoring, and alerting.
IP camera vs GoPro timelapse: which approach works best for which scenario?#
An IP camera approach usually works best when the main priority is cost-efficient long-term documentation from fixed viewpoints. It is especially suitable when the site already has LAN or Wi-Fi and the team is comfortable working with camera-side settings. It also makes sense when several viewpoints are needed and hardware budget matters.
A GoPro-based approach usually works best when the final footage should be visually stronger, when LTE may be necessary and when the team wants to control capture from the timelapse platform rather than through separate camera software.
In many real-world cases, the best answer is not strictly one or the other. IP cameras can handle lower-cost persistent site coverage, while a GoPro-based system provides a premium hero angle for the final edit.
If you are comparing more than these two approaches and also want to evaluate DSLR or mirrorless setups, read our guide to the best camera for construction timelapse.
Your next step#
You choose your own IP camera
Connect any camera that can upload images over FTP to TLR-Cloud. It is free for every camera, with 2 GB of storage per camera.
Connect your IP cameraYou choose the GoPro set or the TLR-Bridge
The complete set includes a GoPro HERO 13, the TLR-Bridge, a weatherproof housing, power cables and an LTE antenna. Already have a GoPro HERO 12 or 13? Then add the TLR-Bridge (€499 net) and, outdoors, the weatherproof housing (€399 net).
See the hardware in the shopFrequently asked questions
- Which is cheaper for construction timelapse, an IP camera or a GoPro?
- Usually the IP camera, especially if one is already on site: then you only pay for the cloud, for example €522 net for Professional over 18 months. TimelapseRobot's complete GoPro set costs €999 net once, or €499 net for the TLR-Bridge plus €399 net for the weatherproof housing if you already own a GoPro HERO 12 or 13. The trade-off: the IP route needs more knowledge of network configuration and camera-side settings.
- Do I need technical knowledge to run an IP camera timelapse?
- More than with the GoPro set. With IP cameras, capture schedules and FTP upload are configured in the camera's own software, while the timelapse platform handles the archive and monitoring. That split suits integrators and technically confident users but can feel fragmented for others. The GoPro set is delivered pre-paired, and its schedule can be changed from the dashboard.
- Can a construction timelapse run on a site without Wi-Fi or LAN?
- Yes. The TLR-Bridge uploads over LTE with a SIM card and data plan, so the GoPro set works on sites without any network. Ordinary IP camera setups often lack an easy path to direct LTE and depend more on the site's own LAN or Wi-Fi, which is difficult on temporary or constantly changing sites. Either way, the camera needs continuous power.
- When is a GoPro the better choice than an IP camera?
- When the final footage should be visually stronger, for client presentations, promotional edits or final project films; when LTE may be necessary; and when the team wants to control capture from the timelapse platform rather than separate camera software. A GoPro HERO 13 takes photos of about 27 MP, compared with about 8 MP from a 4K IP camera.
- How much storage do I need for 18 months?
- In our example (10 hours a day, Monday to Friday, one image every 10 minutes) it is about 23,500 images. From a GoPro that is about 183 GB, so Professional plus 100 GB extra storage, or Business. From a 4K IP camera it is about 57 GB, which fits Professional with 150 GB per camera. Check your own numbers in the timelapse calculator.
- Do both camera types still need timelapse software?
- Yes. Even if a camera has a native timelapse or snapshot function, long-term projects benefit from software such as TimelapseRobot to create an online archive, allow remote image checks and send an email when too few images arrive. Without that layer, site problems remain invisible until someone visits the location or notices a gap too late.
Connect your own camera
Turn your FTP/IP camera into a timelapse system — start for free.
Step-by-step setup guides: Reolink RLC-510WA · Bixion


